Create a department and add people to it
Set up a department in the console, give it a default ticket stage and a ticket id format, then add the staff who are going to work in it.
A department is what a ticket is routed to and what a Kanban board is built from. This page creates one, configures it, and puts people in it.
Goal
A department exists with the right name, the right address, the right default ticket stage, and a list of the staff who answer for it.
Before you begin
- The Departments entry in the navigation appears for an administrator only.
- A name for the department, and a shared mailbox address for it if there is one.
- The accounts you are about to add must already exist — Add, edit and remove user accounts.
- Know how a ticket differs from a conversation: Conversation or ticket.
Steps
Open Tickets → Departments. The list appears with an Add Department button at the top right.
Press Add Department. A Department Profile card opens on an empty form.
Fill in Department Name and Email Address. The address is optional; the list prints No email assigned where it is missing.
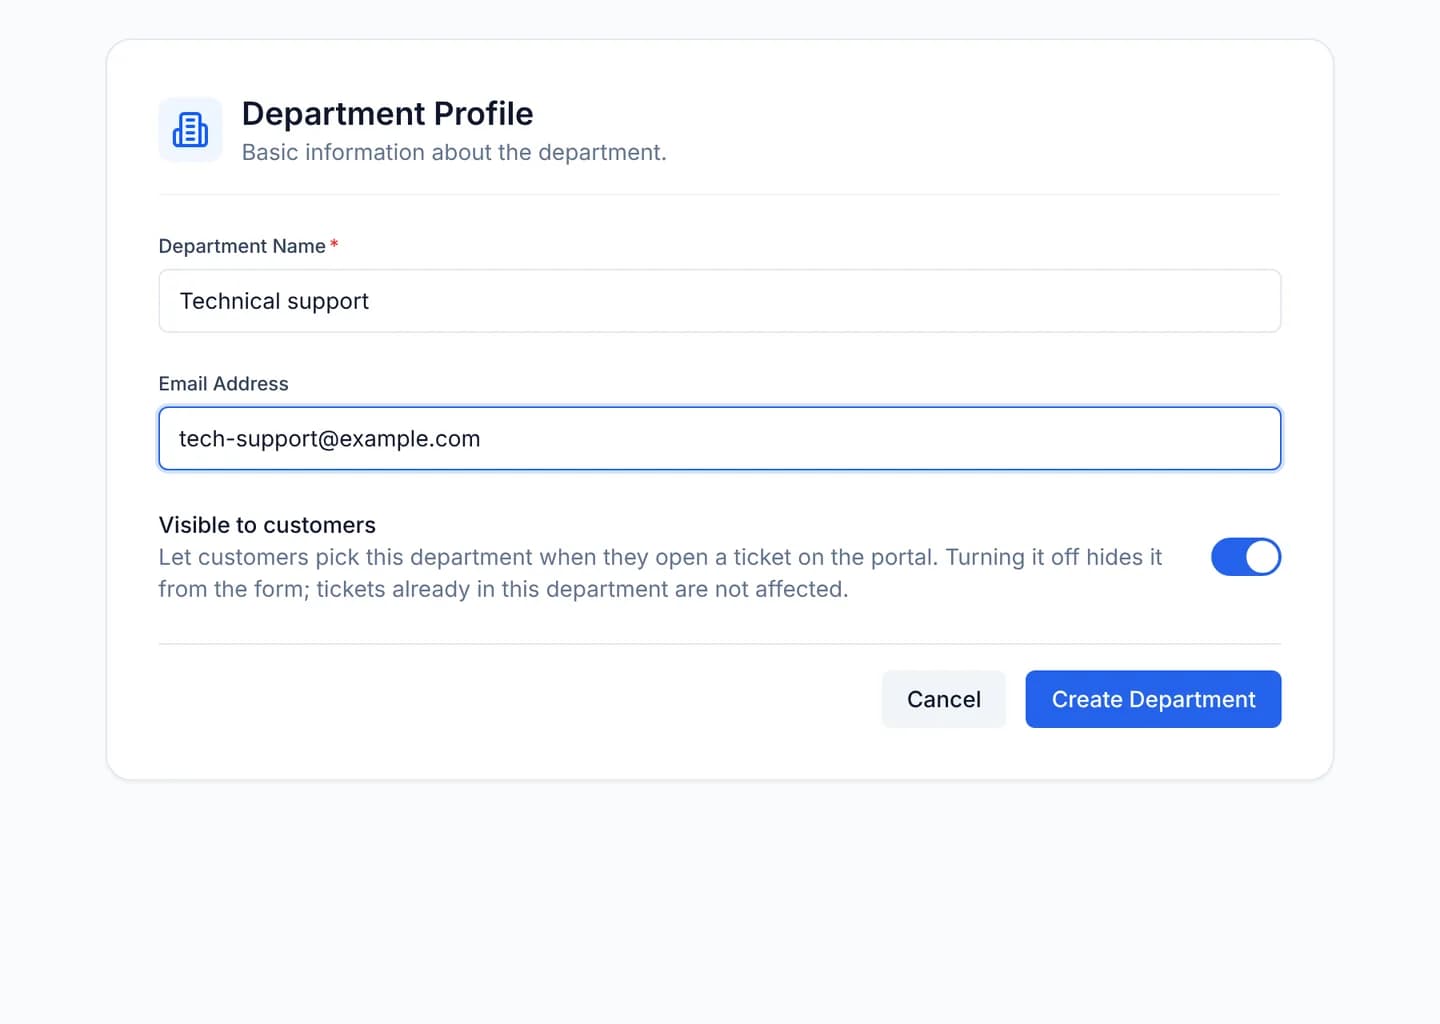
Look at the Visible to customers switch. On, a customer can pick this department when opening a ticket on the portal; off, it leaves that form.
Press Create Department. The console returns to the list with the new department in it.
Open it with the gear button on its row. The Settings tab edits the name, the address and the visibility switch; press Save Changes when done.
Scroll to the Ticket & Notification Settings block. Set the Ticket ID format and the notification switches, then press Save Settings — that block has a save button of its own.
Move to the Users tab, press Add User, and pick the people who belong in Department Users.
Verify
Go back to Tickets → Departments: the new department is in the list with its address under the name. Open its Users tab and count the rows — the count matches the people you added. Open the form for a new ticket: the new department is offered in the department select.
A team and a department are one record
The Team select on a user's profile lists exactly the records the Departments screen manages — both read one table. Setting somebody's Team on the Users screen and adding them on a department's Users tab reach the same result.
Troubleshooting
| Symptom | Cause | What to do |
|---|---|---|
| The navigation has no Departments entry | That menu row is assigned to the administration group alone | Ask to be raised to the Role, or ask an administrator |
| The configuration block reads Settings unavailable. | The department's settings record did not load | Reload the page; while the block is empty, Save Settings posts nothing |
| A new ticket lands in no column | The department has no default ticket stage yet | Set it in Configure the columns of a team's board |
| Customers cannot pick the department on the portal | The Visible to customers switch is off | Turn it back on; tickets already in the department are unaffected |
| The department is gone but the accounts remain | Deleting a department deletes no account | Reassign each person's Team on the Users screen |
Next steps
Grant per-feature permissions to a group
Use the Access Rights screen to create a permission group, turn read and write on per table, and then hand that group to the people who need it.
Edit the notification templates that go out
Open the notification templates screen, edit the subject and the HTML body of a template per language, and use only the variables that template receives.