Configure the columns of a team's board
Add, rename and order the stages on a department's Kanban board, mark the column that closes the flow, and choose the stage new tickets land in.
The columns on a Kanban board are the stages of one department, and every department carries its own set. This page builds that set and names the column that receives new tickets.
Goal
The department holds a set of columns in the order the work actually flows, the last one is marked as closing, and a new ticket for that department lands in the first one.
Before you begin
- The administrator role. The Departments, SLA Policies and Working Calendars menu entries appear only for that role, and editing columns needs write access to ticket stages, which by default only administrators hold.
- A department that already exists under Tickets → Departments.
- The two permission axes: Roles and per-feature permissions.
Steps
Open Tickets → Kanban and click the tile of the department you are configuring.
Press Add column in the faded panel on the far right, type a name into Column name… and press Add column. The new column appears at the end of the row.
Rename a column with the pencil icon (Rename) on its header. Press Enter to store the new name.
Drag a column header left or right to reorder it. This order is the flow your team reads every day.
Press the gear icon (Stage settings) to open the Edit stage dialog.
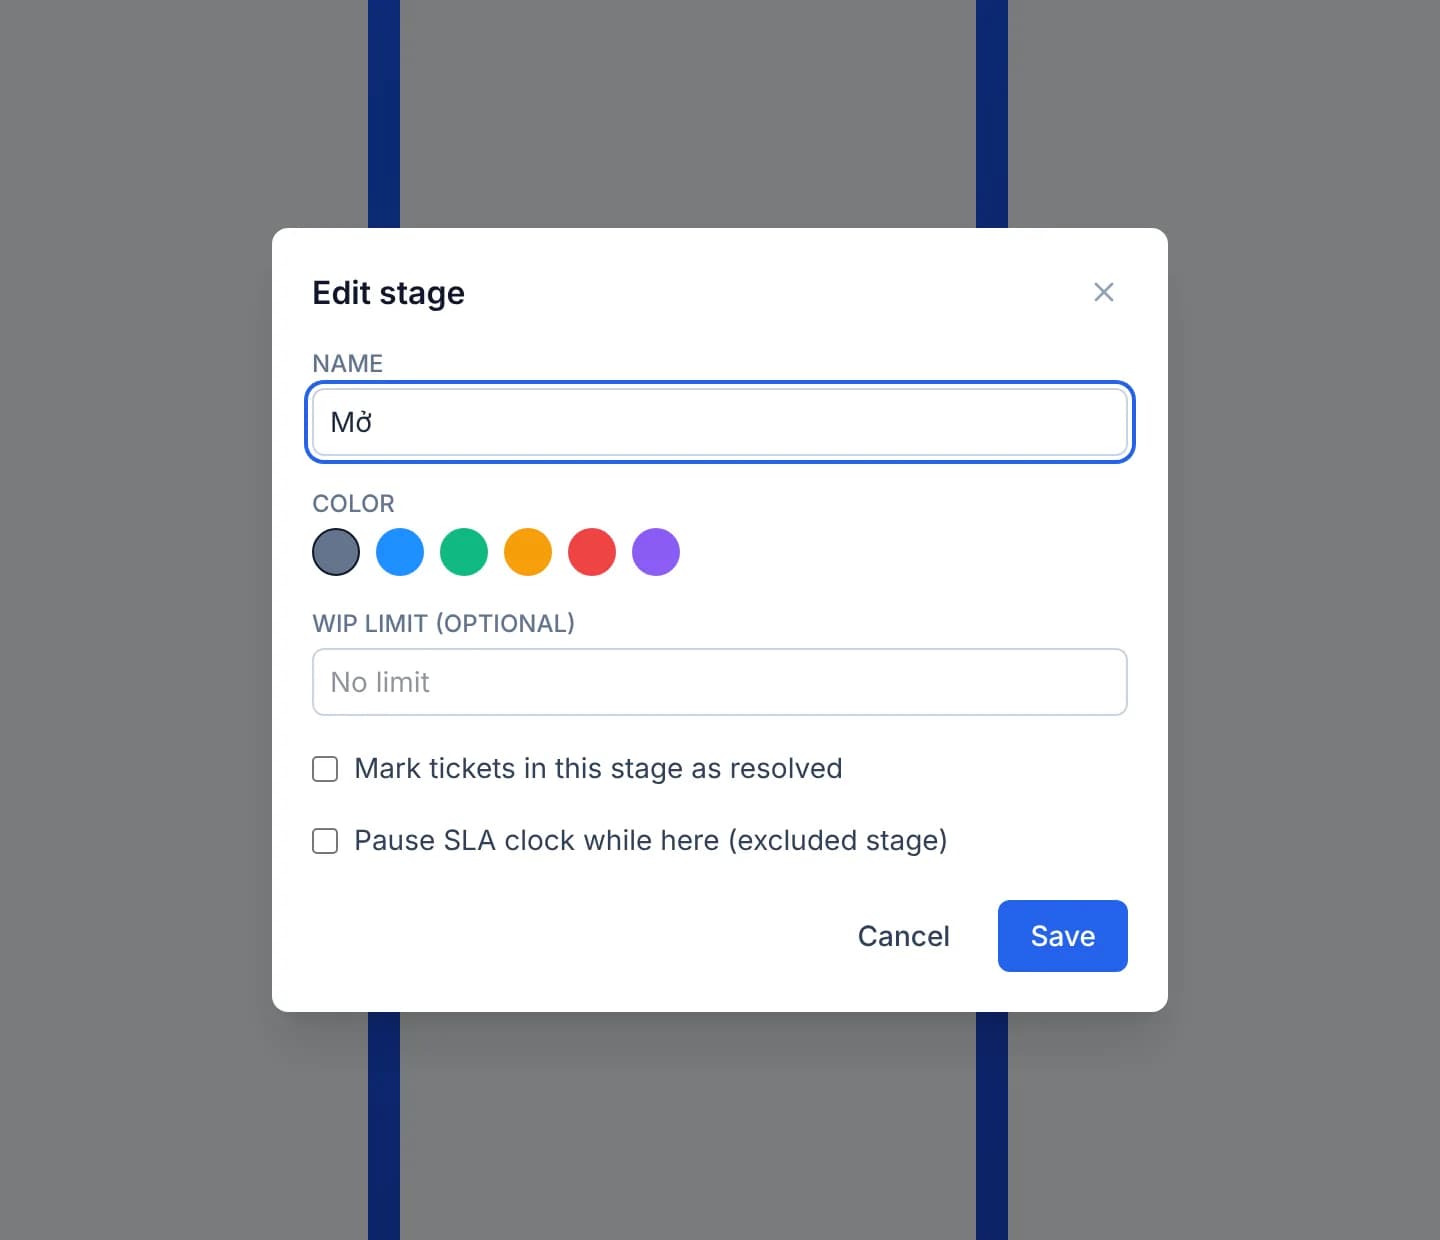
Pick a Color and fill WIP limit (optional). Left empty, the column runs at No limit.
Tick Mark tickets in this stage as resolved on the final column, and Pause SLA clock while here (excluded stage) on a waiting-on-customer column. Press Save.
Delete a column with the bin icon (Delete column). The browser asks for confirmation, and the server refuses while the column still holds tickets.
Open Tickets → Departments → pick the department → the Settings tab. Set Default Ticket Stage and press Save Changes.
Verify
Reload the board: the names, colours and order hold exactly as you left them, and the closing column carries a Closing label on its header.
Create a ticket for that department following Create a ticket and answer the customer: it appears in the column you chose as Default Ticket Stage.
Troubleshooting
| Symptom | Cause | What to do |
|---|---|---|
| Deleting a column fails with "Stage is in use by existing tickets. Move them first." | The column still holds tickets, and the server will not drop one in use | Drag every card elsewhere, then delete it |
| A column goes over its WIP limit and the console keeps accepting cards | The limit only turns the count red; it blocks nothing | Read it as a signal for whoever dispatches work |
| Pause SLA clock while here is on, yet deadlines do not move | The clock stops only on the columns ticked under Excluded stages in each SLA policy | Open the policy and tick that column — see Set an SLA policy for a team |
| Departments is absent from the menu | That entry opens for administrators alone | Ask an administrator to make the change |
| New tickets land in no column | The department has no Default Ticket Stage | Repeat the last step |
Next steps
Track tickets on your team's Kanban board
Open a department's Kanban board, read the columns and the SLA badge on each card, then drag a card into another stage to move the ticket along.
Set an SLA policy for a team
Create an SLA policy in the CloudFly Helpdesk console: pick the team, the priority, the target hours, the working calendar and the stage that counts as reached.