Getting started with CloudFly Helpdesk
Four pages that take a new CloudFly Helpdesk workspace from the first sign-in to the first answered conversation and a second person on the team.
This section walks one full circle around a new workspace: sign in, connect a channel, answer a customer, add a colleague. Taken in order, each page uses what the page before it produced.
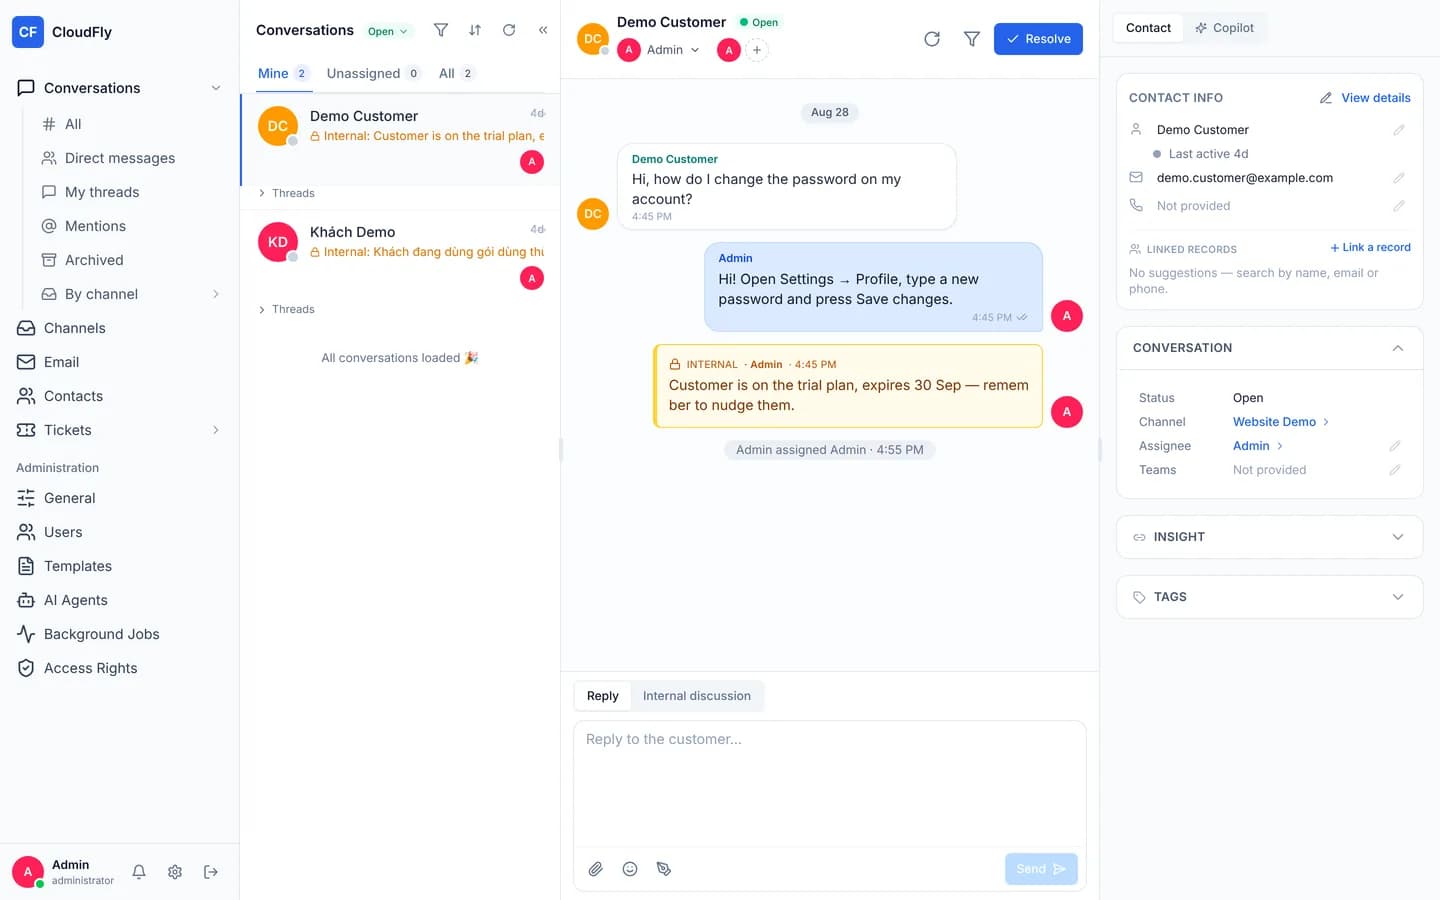
Take them in this order
Sign in and find your way around — reach the console and learn the three regions of the screen.
Create your first channel — build the website widget and collect the embed snippet for your site.
Handle your first conversation — answer the customer, leave an internal note, then resolve the thread.
Invite a colleague into the workspace — create the second account and grant it access.
If you would rather understand first
None of the four pages above explains a concept; each links into the concepts section instead. Roles and per-feature permissions covers who may do what. Shared inboxes and channels covers where a customer message lands. And when a request needs a ticket of its own is a question you will meet in your first week.
Two of the four tasks need the administrator role: creating a channel and creating an account. An agent can still work through the other two on day one.
CloudFly Helpdesk documentation
The starting point for the CloudFly Helpdesk user guide, written for support agents and for the administrators who configure a workspace.
Sign in and find your way around
Reach the CloudFly Helpdesk console for the first time with your own account, then name the three regions on screen: navigation, queue and message timeline.