Create a ticket and answer the customer
Open a new ticket in the CloudFly Helpdesk console, answer the customer on its timeline, leave an internal note for your team, then resolve the ticket.
This page takes one ticket the whole way round: from the moment you open it to the moment the customer has an answer and the ticket is closed.
Goal
The workspace holds a ticket with an HD-XXXX reference, filed under the right
department, carrying at least one reply sent to the customer, sitting at
status Done.
Before you begin
- An account that may write on tickets: the administrator role, or the
Tickets role field set to Admin (can write). Without it the console
hides the New Ticket button and blocks the
/tickets/addroute. - At least one department, because Department is required on the form.
- The customer's email address, or a contact that already has a portal account.
- The two permission axes are explained in Roles and per-feature permissions.
Steps
Open Tickets → All in the navigation column. Press New Ticket at the top right.
Fill Title with a sentence describing the work to be done, not a greeting.
Pick the customer in Contact if that person already has a portal account. If not, leave it empty and fill Client Email instead.
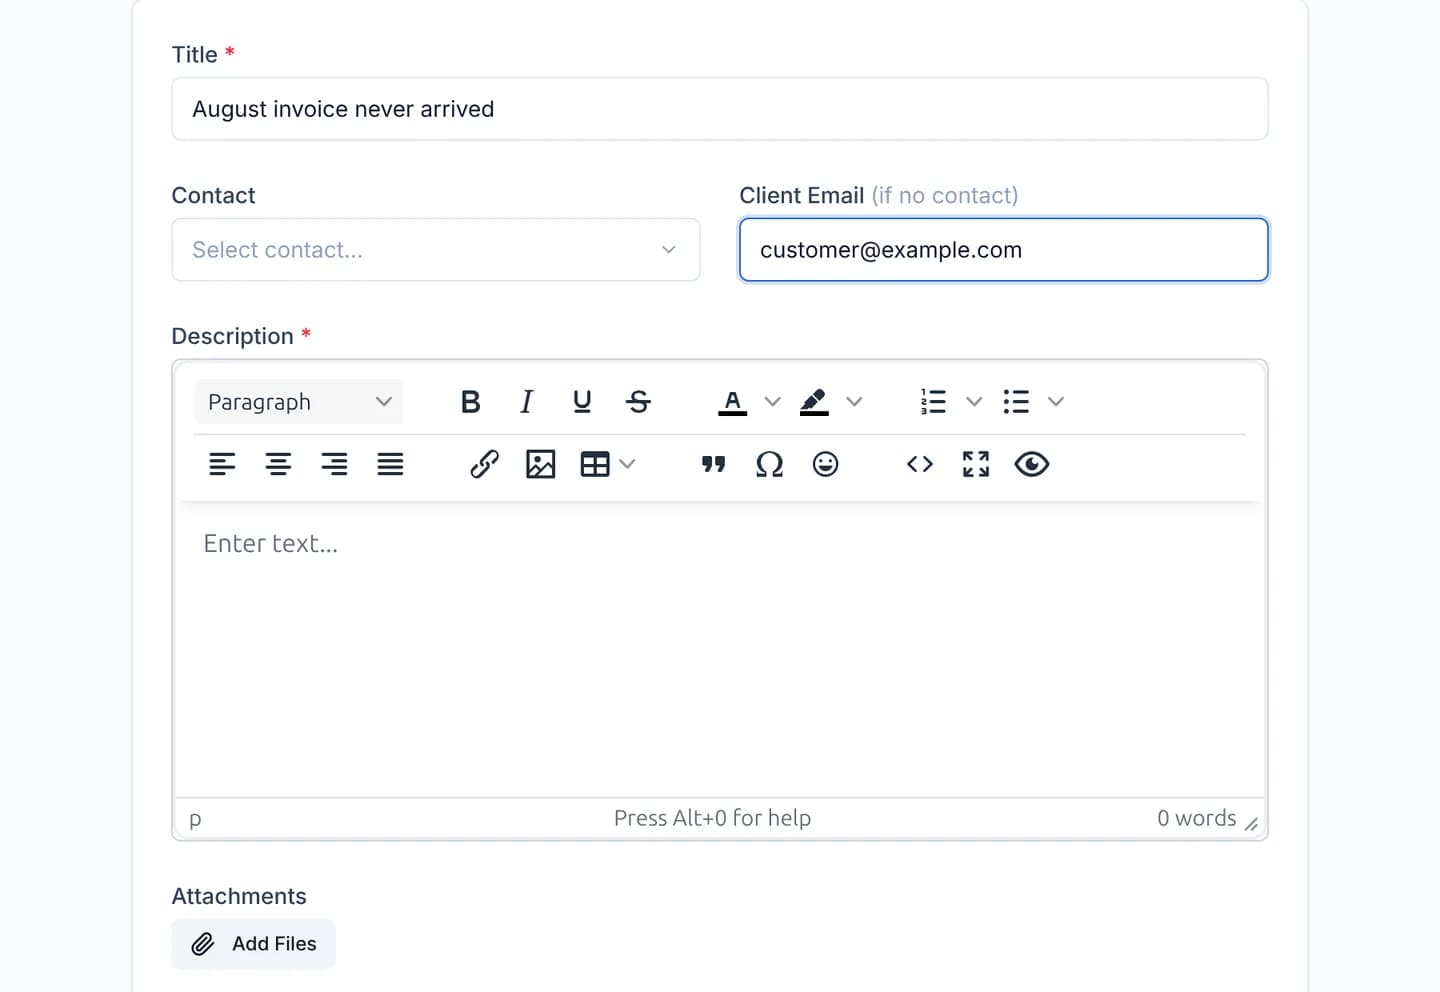
Write the Description. Attach files with Add Files when the customer sent a screenshot or a log.
Set Priority to one of Low, Medium, High or Urgent, then pick the Department. Press Create Ticket.
The console opens the new ticket. Type your answer on the Public Reply tab and press Send — the customer reads this one.
To brief a colleague instead, switch to the Internal discussion tab. Entries posted there carry the Internal label and never reach the customer.
When the work is finished, press Resolve at the top right. The button turns into Reopen in case the customer comes back with more.
Verify
Under the ticket title sits a reference of the form HD-0001, drawn from a
shared counter, so no other ticket carries it. The Ticket Details panel on
the right reads Status: Done, with Department set to the team you
picked.
Reopen Tickets → All: the ticket is in the list and its Last Reply column carries the moment you pressed send.
Troubleshooting
| Symptom | Cause | What to do |
|---|---|---|
| The New Ticket button is absent | The account may only read tickets | Ask an administrator to move Tickets role to Admin (can write) |
| The composer is replaced by "Your account can read tickets but not write on them." | Same cause, seen on the detail screen | As above |
| Contact reads "No customer has a portal account yet" | That box lists only customers holding a portal account | Leave it empty and use Client Email |
| Creating fails with "Department is required" | No department was picked | Pick one and submit again |
| The new ticket sits in no column on the Kanban board | The department has no default stage | Work through Configure the columns of a team's board |
Next steps
Tickets and SLA in the console
Five pages that open a ticket, run a team's Kanban board, configure its columns, set an SLA policy and build the working calendar the SLA clock counts on.
Track tickets on your team's Kanban board
Open a department's Kanban board, read the columns and the SLA badge on each card, then drag a card into another stage to move the ticket along.